-
How to set up your uniFi+idle
-
1.
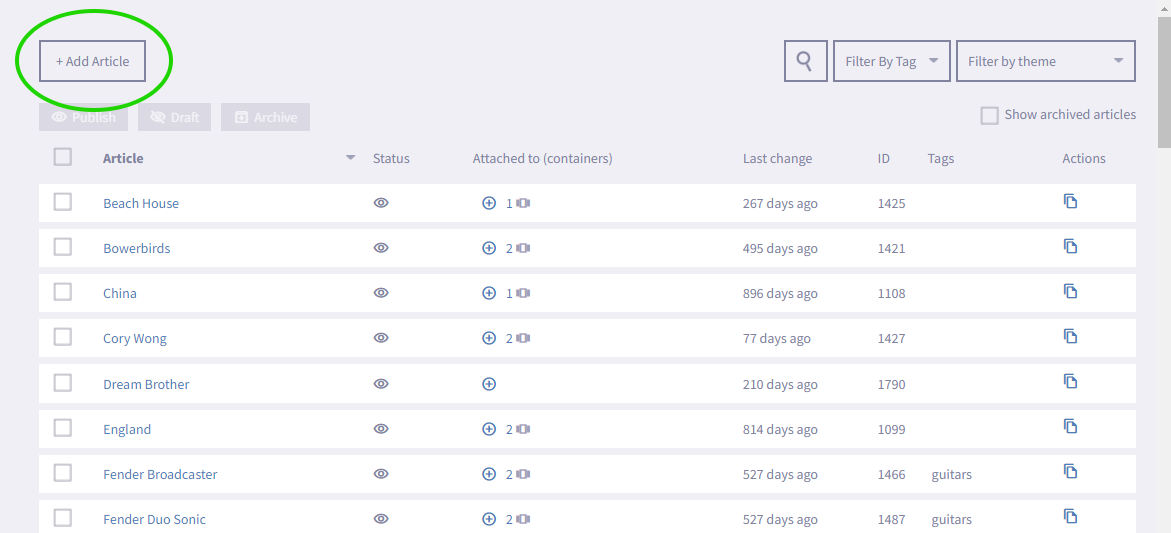
Create one or several articles
Your uniFi+idle will display a number of uniFi+ articles in a repeating loop.
Begin your configuration by creating one or several articles. How to create articlesStart from the Articles section and add a new article:

TIP 1: The +idle will change how an article is displayed based on the content provided. Thus if an article only contains an image or a video, the media will be displayed in full screen and otherwise the +idle will display the complete article with text and media.
TIP 2: If you want to control for how long each article will be displayed, you can configure this in the screens settings-section
TIP 3: If you only want your article displayed in a specific period of time, you can configure this period when editing the article. Go to ‘settings’ and activate ‘Time limit’ to choose the date span in which the article should be active.
-
2.
Create a basic presentation
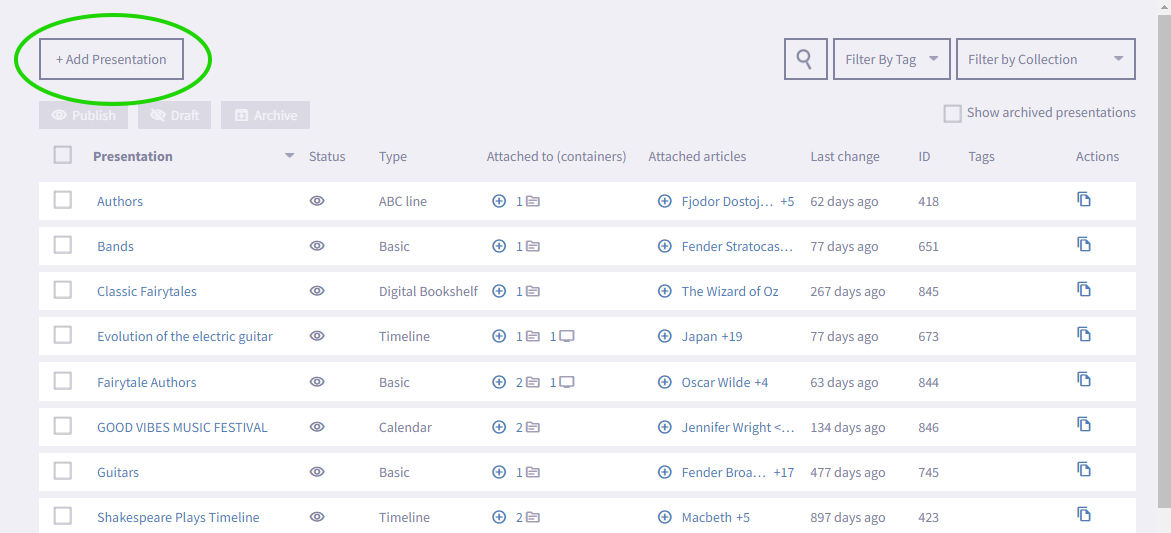
With your articles created, you must now create a presentation of the type ‘Basic’.
Go to the Presentations section to add a new Presentation:

Choose the type 'Basic' in the modal:
Further instructions: How to create basic presentation.Within the Content Picker editor you can attach your articles. Remember to click Save
TIP: The 'basic' presentation you just created can be used on other screens as well. Even if you have +display or +activs attached to your account, you will be able to reuse presentations across these different types of displays.
TIP 2: If you want to present books or events, you can also use the presentation types: "Event calendar" or "Digital bookshelf"
-
3.
Attach presentation to uniFi+ idle
Finally your ready to attach the presentation to your uniFi+idle. There are multiple ways to do this:
- Adding the presentation to at screen can be done directly from the Presentation editor in the Containers section in the bottom of the content tab. Click + Choose Screens
- Alternatively go to the Screens section and find your idle-screen in the list

Use the in the content column next to the +idle to add content to your desired screen.
Now choose your newly created presentation for the +idle: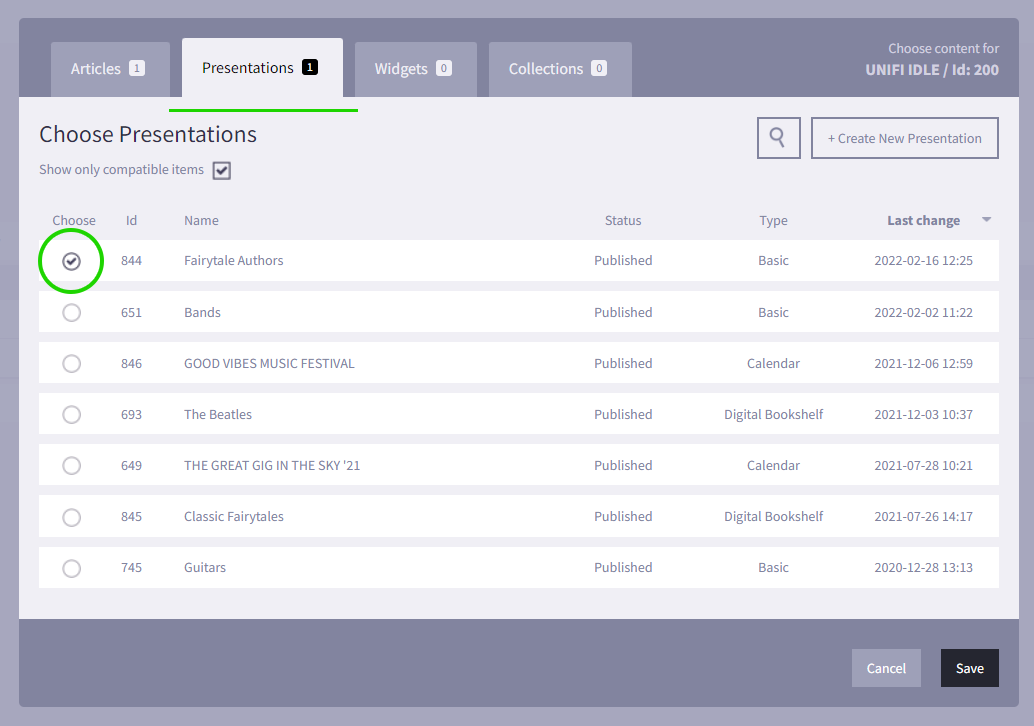
TIP: If you prefer to have the same content on several +idles. You can group these by adding a +idle-group in the setup view. When you have created a group, simply unfold it and drag the +idles you want to the dark gray area beneath the group name.
Content for the group can be added by choosing the “configure” button next to the group (same way as when configuring content for just one +idle) -
4.
Enjoy the result of your work
Congratulations! Now you have configured your uniFi+idle. The software on the PC running the +idle will now start downloading the content you just created and will start presenting this, whenever it is reactivated in Windows.
TIP: You can view the +idle output, by pressing the preview button
 next to the +idle or the +idle-group.
-
1.

-
1190
-
Manual

-
Quick Guides
-
Communication guidelines
-
Detailed Tool Tips