-
8.
Screens
You can configure each screen to look unique and display different content. This is especially useful in libraries where you have multiple screens as you can set the screen in the Children's area to show articles that appeal to a younger audience whilst another screen can cater to adult patrons.
-
8.1
Configure a screen
To configure a screen (Content, settings, design and logos):
- Log in to the uniFi+Administration module.
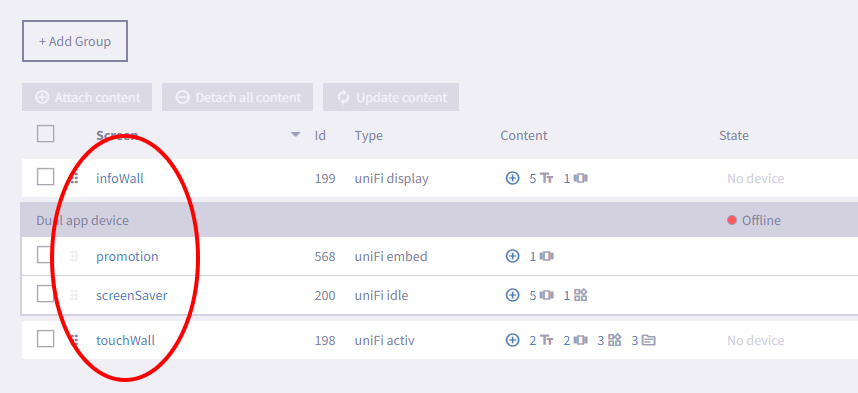
- Select Screens from the options on the Main screen.

- Select the Name of the required screen, under the Screen column.
- Under the Content tab, add any content type by clicking + Add Collections, + Add Presentations, + Add Widgets or + Add Article and in the content picker modal check the items that you want displayed on the screen. If you select more than 5, some content entities can only be accessed by selecting the "More Content.." tile on the +activ screen.
For an +activ device, you can also select a (display) collection to act as an +idle. The +idle will be displayed if the +activ has not be interacted with for a specific amount of time. You cannot interact with the +idle, but pressing the screen will cause the +activ screen to be displayed again.
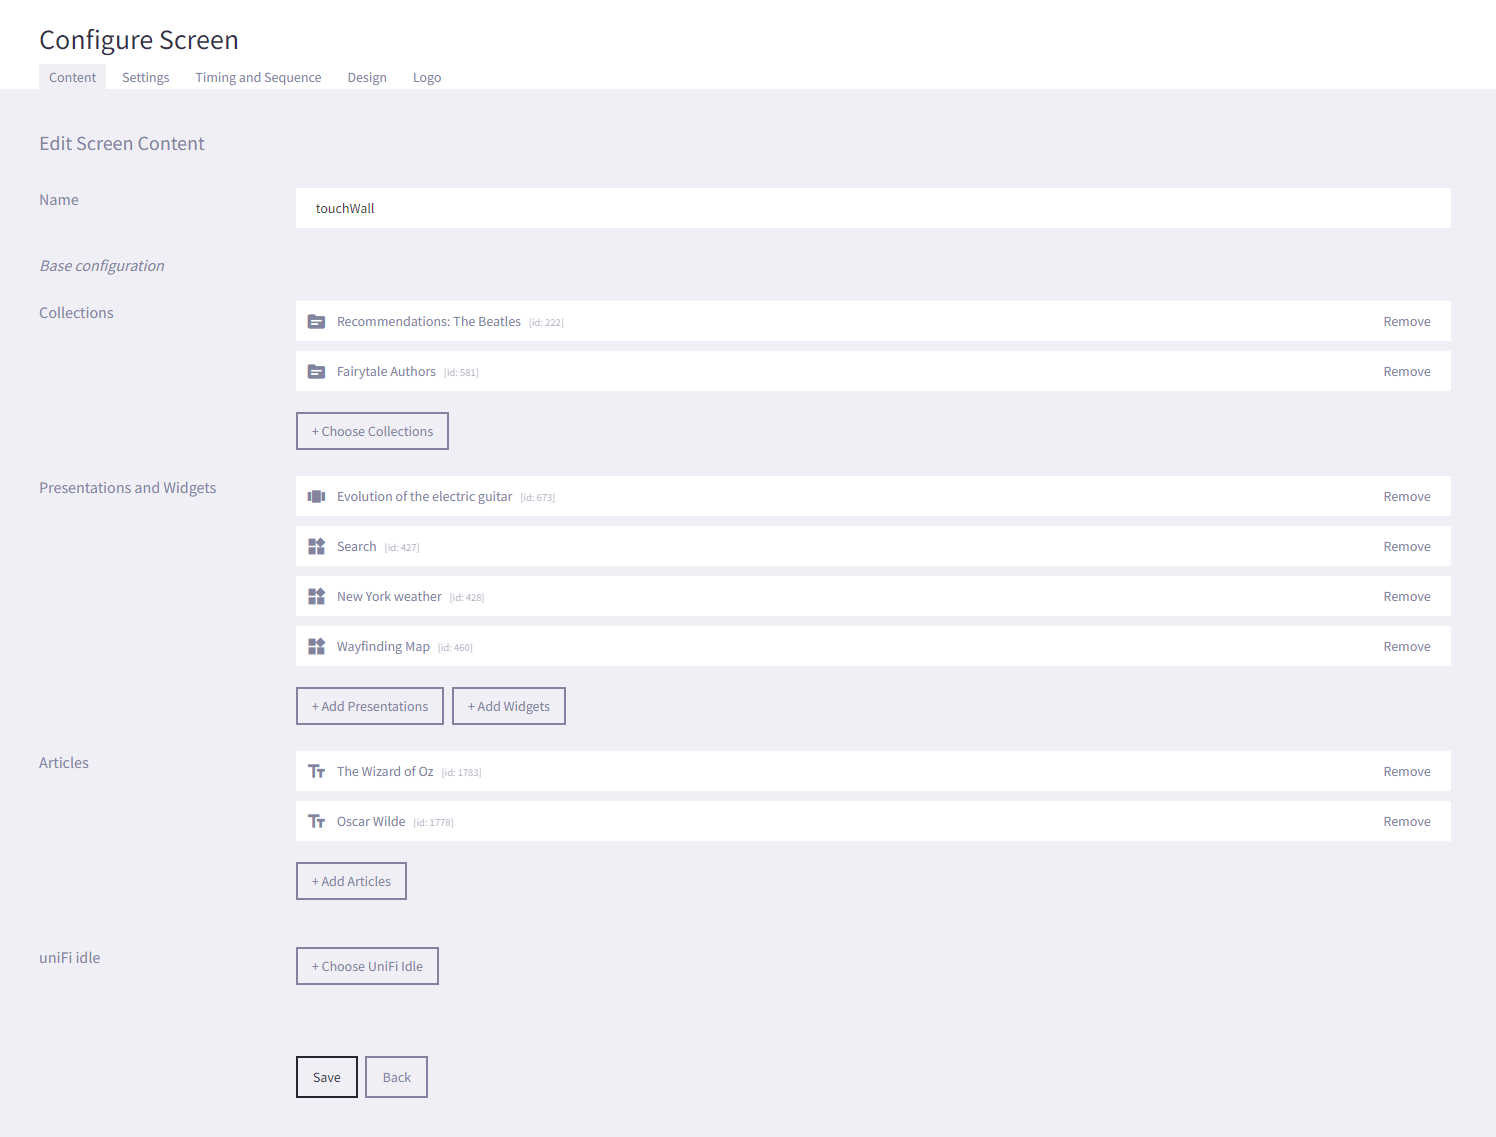
- Select Save.
- If configuring the screen for an +display or +idle, you can select the Settings tab and enable Show Time and Date to show the current time and date on the footer of the screen.
- Under the Styling tab, choose a Style Theme for the screen.
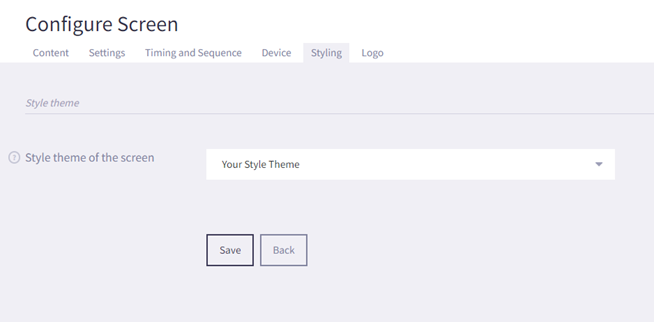
If you want to go further into designing your Style Theme, find a detailed guide here. - Select Save.
- Under the Logo tab, select Choose File next to the Primary logo field and browse to the location of an image on your PC that you want to use as the logo that appears in the bottom corner of the main screen.
You can use the Adjust Margins setting to set how far from the bottom right corner of the screen that the logo appears. You only have to adjust the bottom and right margins.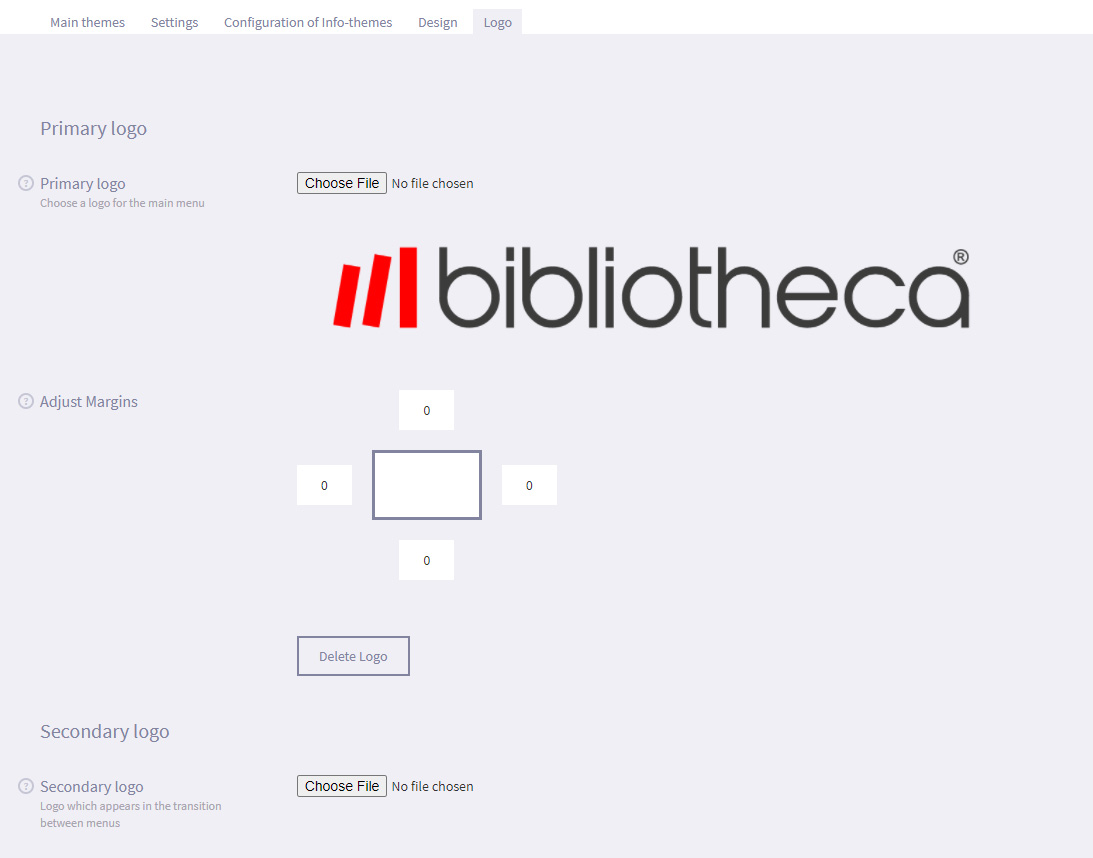
- Select Save.
- Select the Screens option to go back to the Screens page.
- Select Monitor icon under the Preview column to preview what the screens look like for the selected device.
The Main screen for a uniFi+activ preview will look similar to the image below:
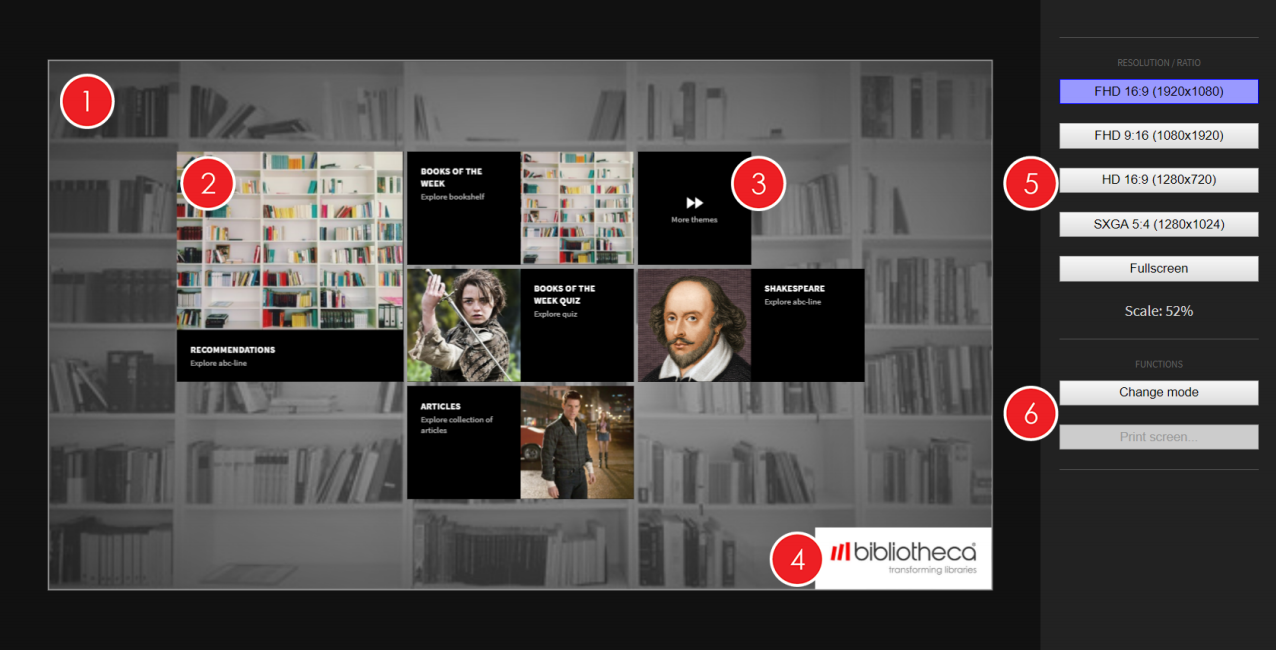
- Background - This is the image set as the background. In the example above, you can see that it has been configured to use the "light" colour scheme, set as light grey, which allows the background to contrast with the content tiles.
- Root content items - The menu is displaying alle attached root content, which can be any mix of Collections, Presentations, Widgets and Articles. The first five items enabled will be displayed as selectable tiles on the screen. Touching the tile will take you to the given Article, Presentation, Widget or the default child attached to a clicked Collection.
- More Content - If more than five root items have been enabled, selecting "More content.." will prompt the five first items displayed to change so that previously hidden items will replace some or all of them.
- Primary logo - This is the image set as the Primary logo, in the default location. If you adjust the margins, the location of the Primary logo will be displayed as set.
- Switch orientation - You can switch the orientation that you view the preview screen in, between landscape and portrait orientation, and different display sizes and resolutions.
- Change Mode - This drop down menu allows you to see what the screen will look like in each open+™ state (Staffed, unstaffed and closed). Only applicable where open+™ is installed in the library.
If you are viewing a +display or +idle screen, you will also get the opportunity to Print Screen. Read more about these features here.
-
8.2
Manually update the content displayed on a screen
If the +activ, +display or +idle device is online, you can manually "push" any updated content to the controller or PC. This means that you do not need to wait for the device to automatically restart at the configured time to refresh the content displayed on the live screen, allowing you to quickly and easily make changes. To manually update the content displayed on all screens:
- Log in to the uniFi+ Administration module.
- Select Screens from the options on the Main screen.
- Place a tick in the checkbox next to the Name of the required +activ, +display or +idle.
- If a device has new content that has not been applied to the controller or PC yet, the Content State column will tell you that it is Ready to Update. - If the device is online, you will see the Update Content button go from opaque to visible.
- Click on the Update Content button.
- Alternatively, if you only want to only update the content on a specific screen, select the Refresh icon under the Actions column next to the required screen. - The content will be "pushed" to the device and the new content will be displayed once downloaded.
-
8.3
Pair Device
To pair your device with your screen, please follow the steps below:
- Select Screens from the options menu in the Administration.
- Navigate to the Device tab.
- In this tab, you're able to connect your screen with the device which shows your uniFi+ content.
- To pair your screen with your device, simply input the Handshake ID displayed on your device and click the Pair button. Your screen content will now be loaded onto your device.
- To pair your screen with another device, click on the Unpair button and pair the screen again as described above.
If the Device tab isn't visible, and you wish to have this functionality enabled, please contact your uniFi+ service administrator or the Bibliotheca support team.
- Select Screens from the options menu in the Administration.
-
8.1